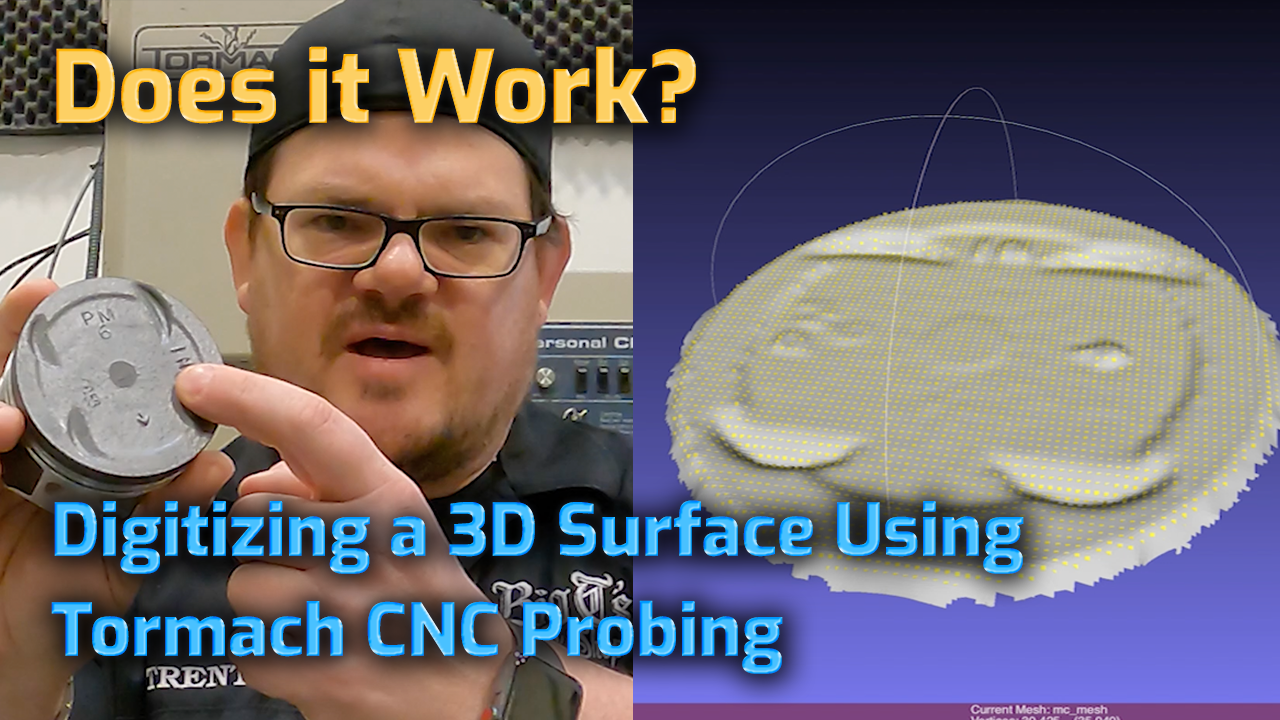
Can you use a Tormach CNC Spindle probe as a basic digitizing tool for creating a reference model of a surface? You bet. We gave it a shot and had pretty good results out of the gate, so seemed like a great thing to share.
Here’s a copy of the modified SMARTPROBE.NGC script we used in the video to capture the point cloud on the Tormach PCNC 1100.
( Rectangular Probing                                                   )
(                                                                       )
( This program repeatedly probes in a regular XY grid and writes the    )
( probed location to the file 'probe-results.txt' in the same directory )
( as the .ini file                                                      )

(Configuration section)
G20   (Inches)
F12    (probe speed)

#1=-1.5  (X start)
#2=.04 (X increment)
#3=76 (X count)

#4=-1.5
#5=.04
#6=76 (Y count)

#7=1.1 (Z safety)
#8=-.25 (Z probe)
(End configuration section)

(LOGOPEN,probe-results.txt)
#9=0 #10=0
G0Z#7
O1 while [#9 lt #6]
    #10=0
    G0 Y[#4+#5*#9]
    O2 while [#10 lt #3]
        O3 if [[#9/2] - fix[#9/2] eq 0]
            #11=[#1+#2*#10]
        O3 else
            #11=[#1+#2*[#3-#10-1]]
        O3 endif
        (#11 is X target)
        #5070=1
        O4 while [#5070 NE 0]
            G38.5 z#7       (Probe away, stop on loss of contact)
            G38.3 x#11      (Probe toward, stop on contact)
        O4 endwhile

        G38.3Z#8        (Probe toward, stop on contact)
        (LOG,#5061 #5062 #5063)
        #10=[#10+1]
    O2 endwhile
    G0Z#7
    #9=[#9+1]
O1 endwhile

(LOGCLOSE)
G0Z#7
G0X#1Y#4
M2
